Internet of Things (IoT): A Five-Day Hands-On Course
Workshop, KAUST Academy, KGSP Summer Enrichment Program, 2026
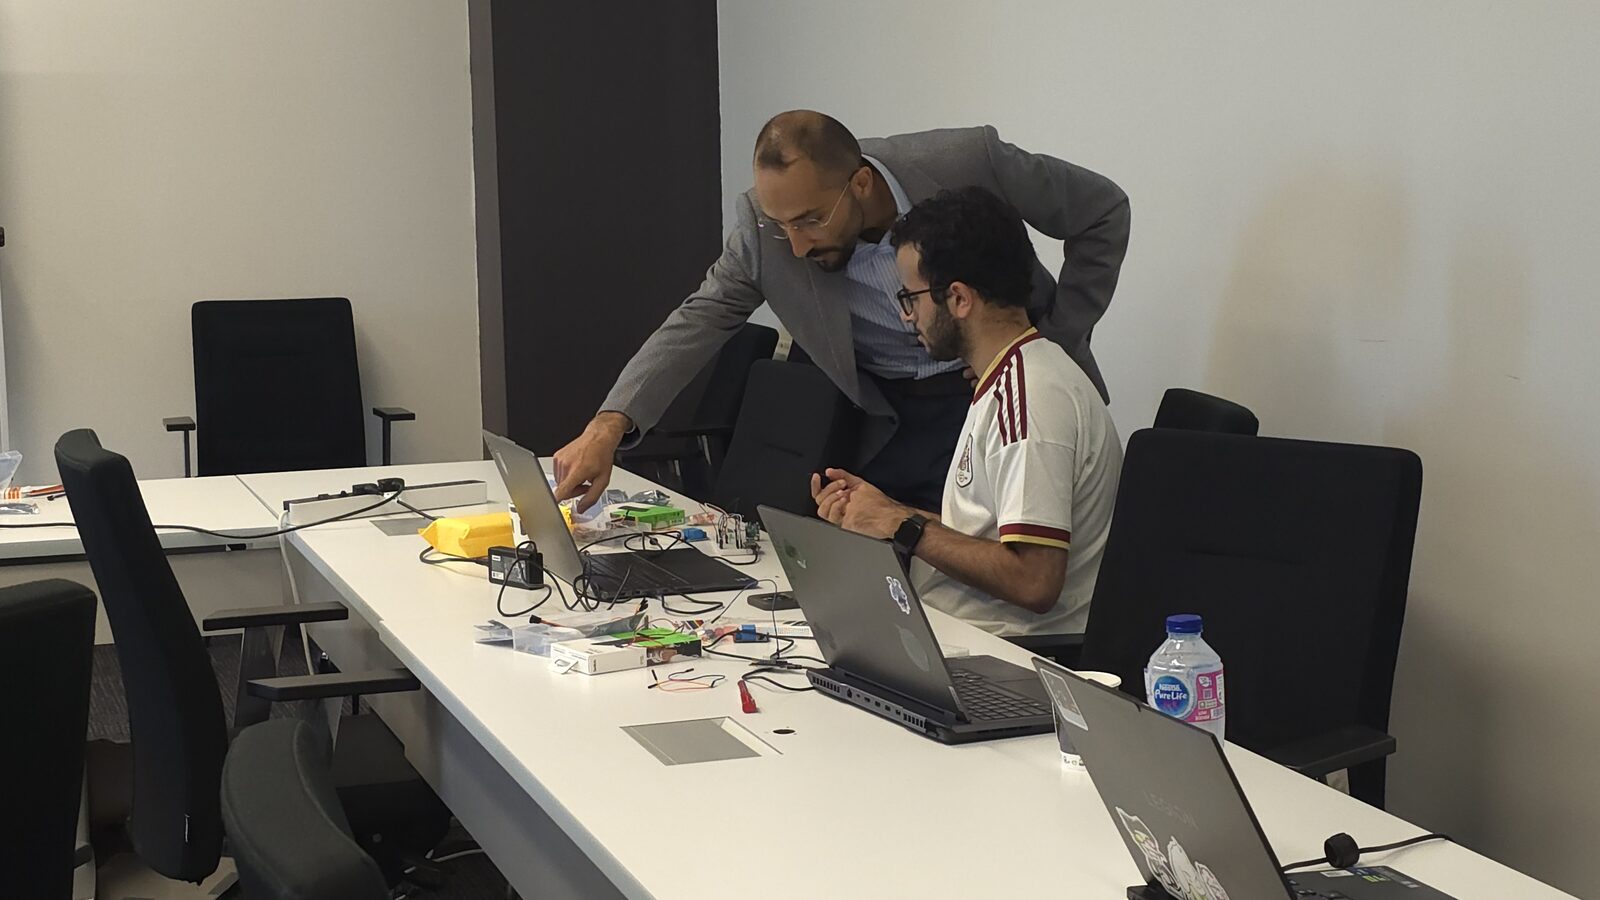
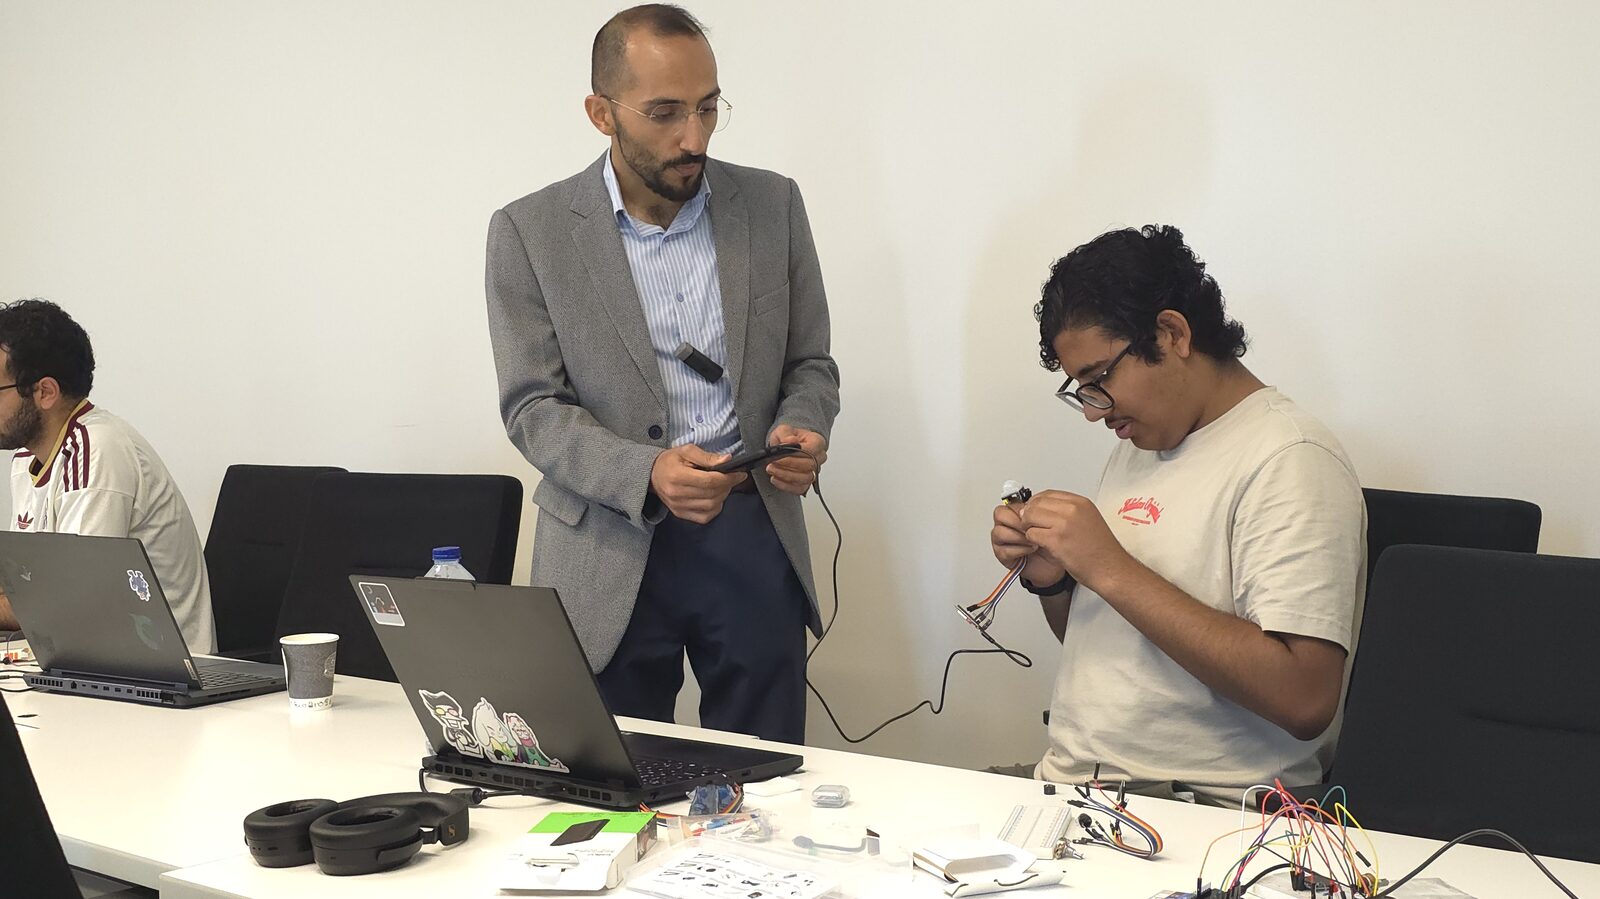
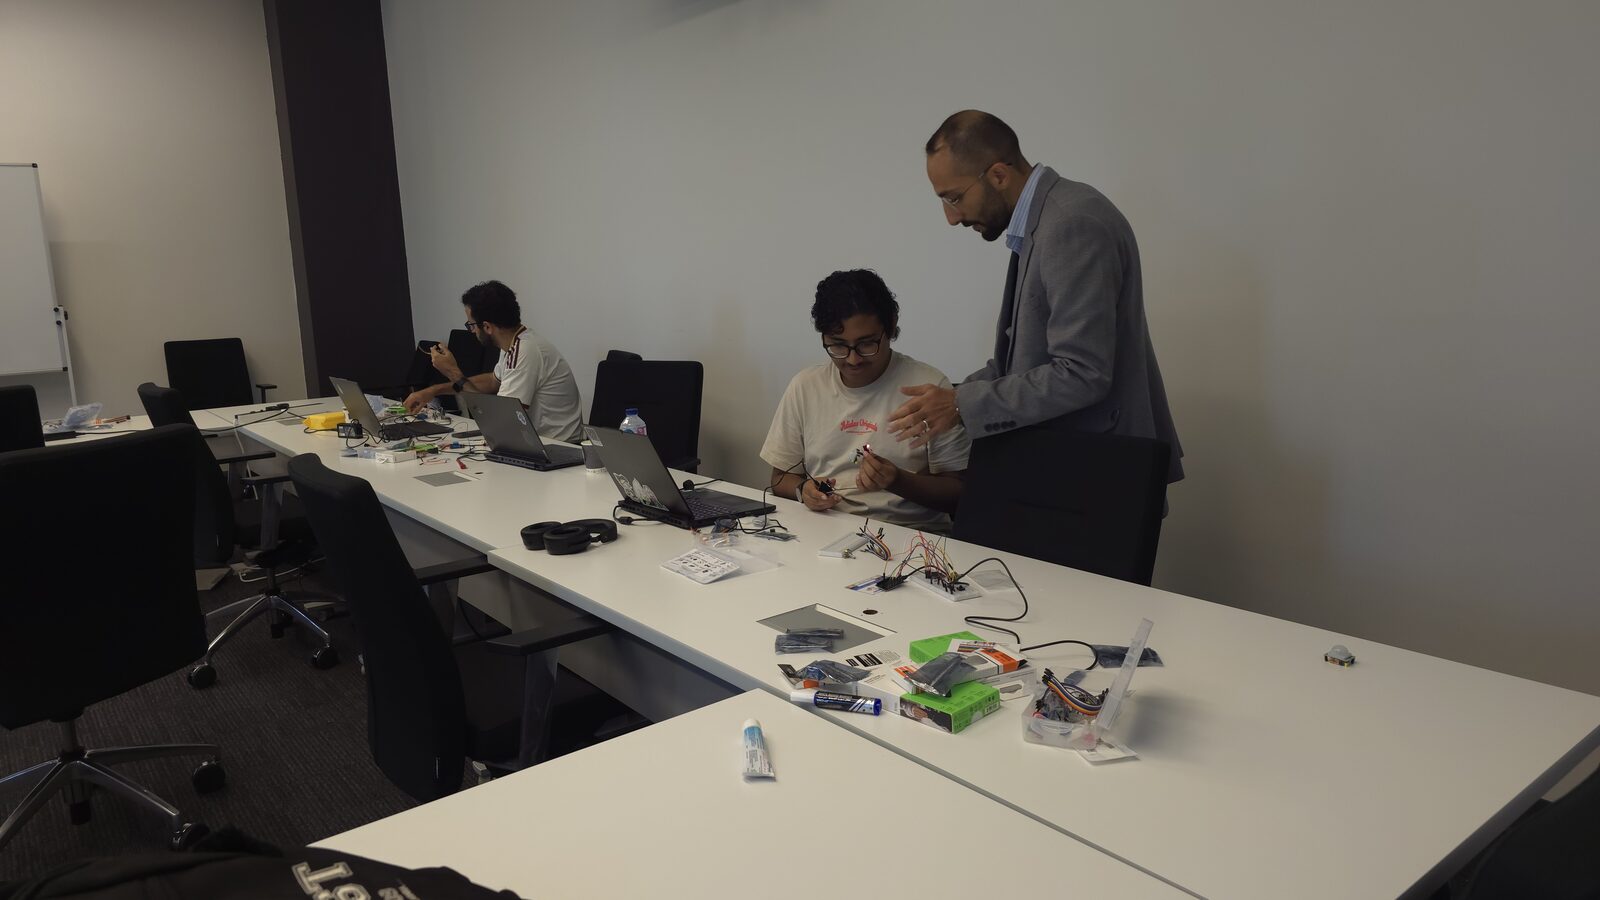
Working through an ESP32 build with a student during a lab session
I designed and delivered a five-day course on the Internet of Things for the KGSP Summer Enrichment Program 2026, run by KAUST Academy at KAUST from August 2 to 6, 2026. I was the main instructor. I built the curriculum from the ground up, wrote and presented all five days of material, developed the complete hands-on project set around the ESP32 development kit, and led a team of two teaching assistants through the lab sessions.
The course carries one storyline across the week: from a single sensor to a connected city. Students start by reading one pin on a microcontroller and finish by designing, building, and defending their own connected device.
Course Materials
Every guide page also carries a course assistant I built so students could keep asking questions after the sessions ended. It answers only from the course’s own guides and sketches, cites the page each answer came from, and declines anything it cannot ground in the material, which matters when a confidently invented pin number costs a student an hour at the bench.
Curriculum Design
I structured the week so that every day opens a new layer of the IoT stack and closes it with hardware in the students’ hands.
| Day | Title | Focus |
|---|---|---|
| 1 | What IoT is, and the devices that make it work | What makes a device “connected”, microcontrollers, the ESP32 board, GPIO, wiring, and power |
| 2 | Sensing the physical world, and acting on it | Sensors and actuators, analog and digital signals, ADC and PWM, and how a sensor actually encodes its reading on the wire |
| 3 | Inside the device, and out to the cloud and the edge | What happens inside the chip, Wi-Fi connectivity, web servers on the device, and the split between edge and cloud processing |
| 4 | Getting devices talking: MQTT, telemetry and commands | Publish and subscribe messaging, brokers, cloud dashboards, and sending commands back down to a device |
| 5 | IoT in the real world, from the home to the city | End-to-end systems, smart home and smart city deployments, and the practical constraints of real installations |
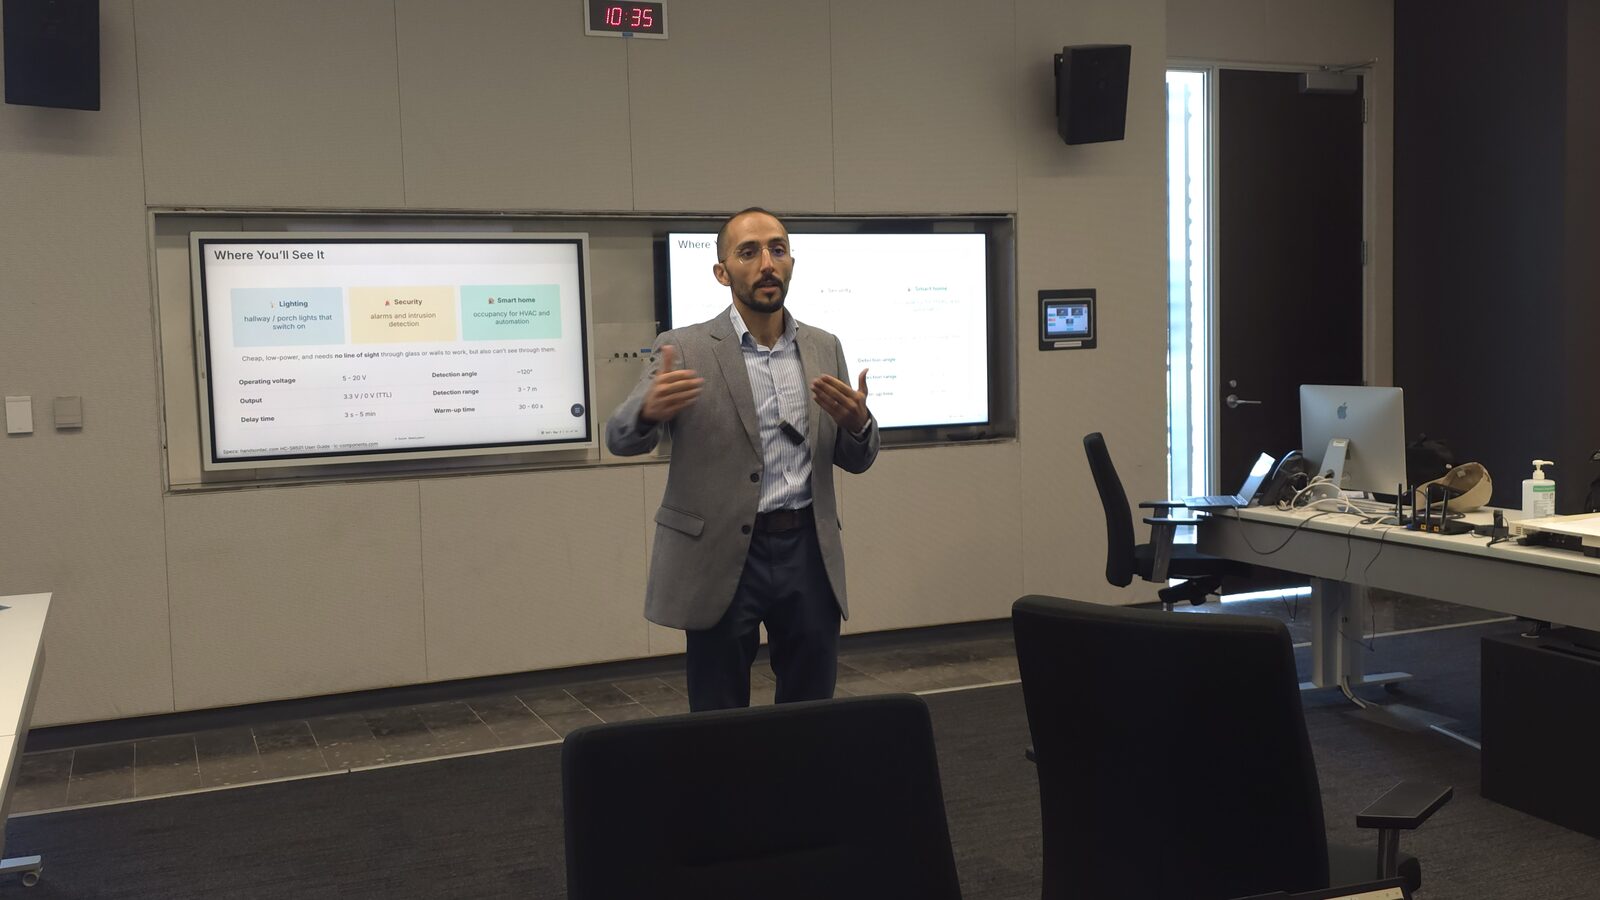
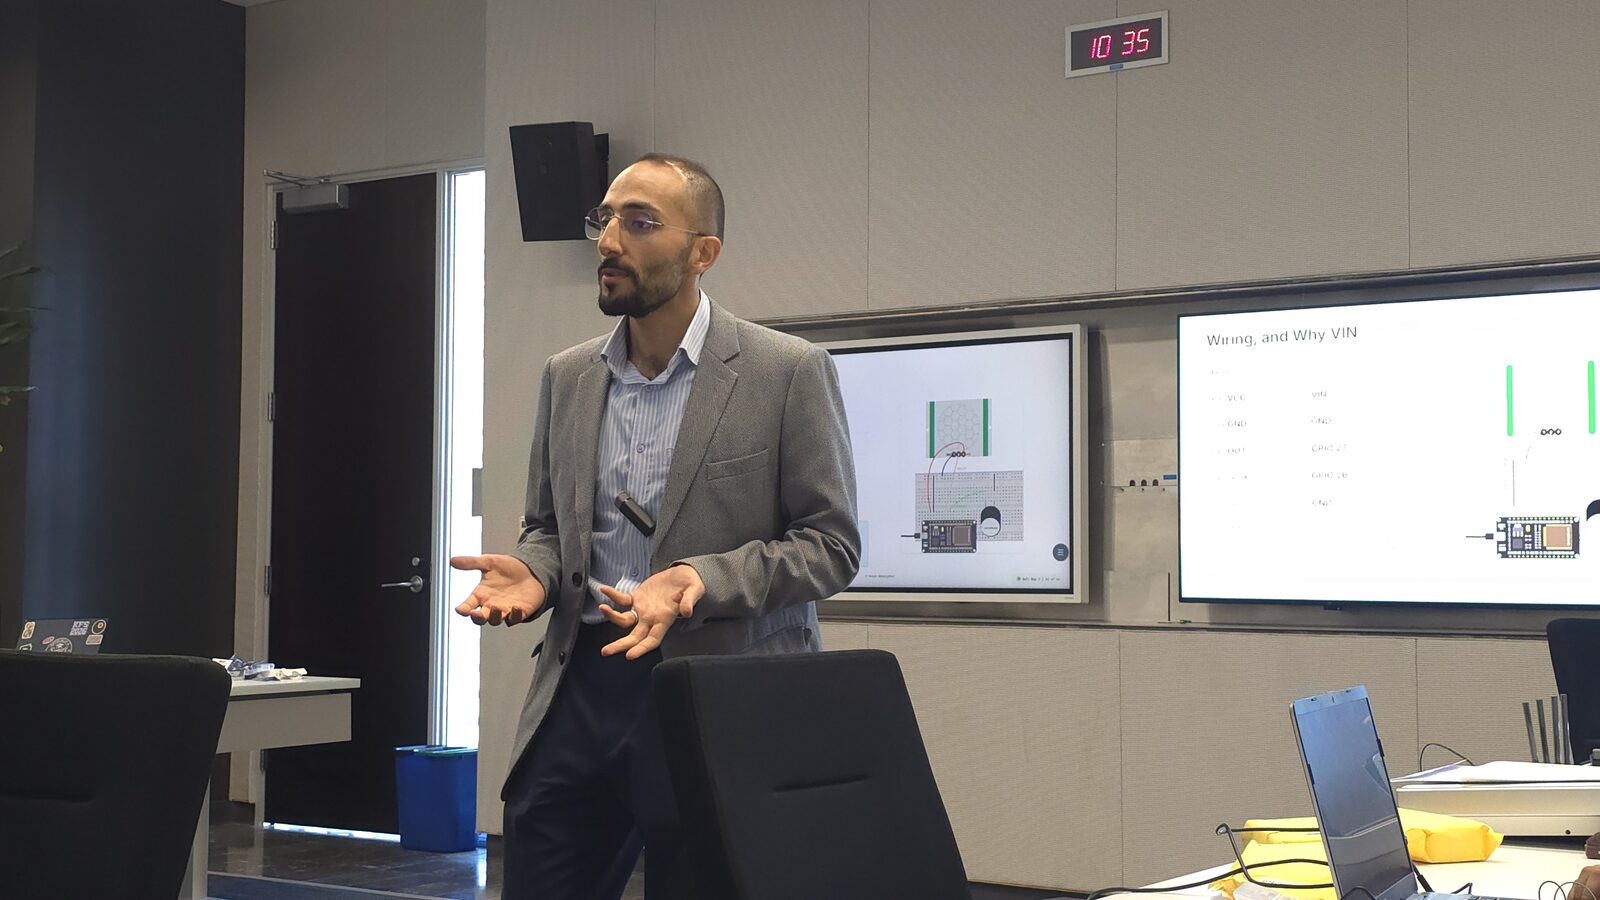
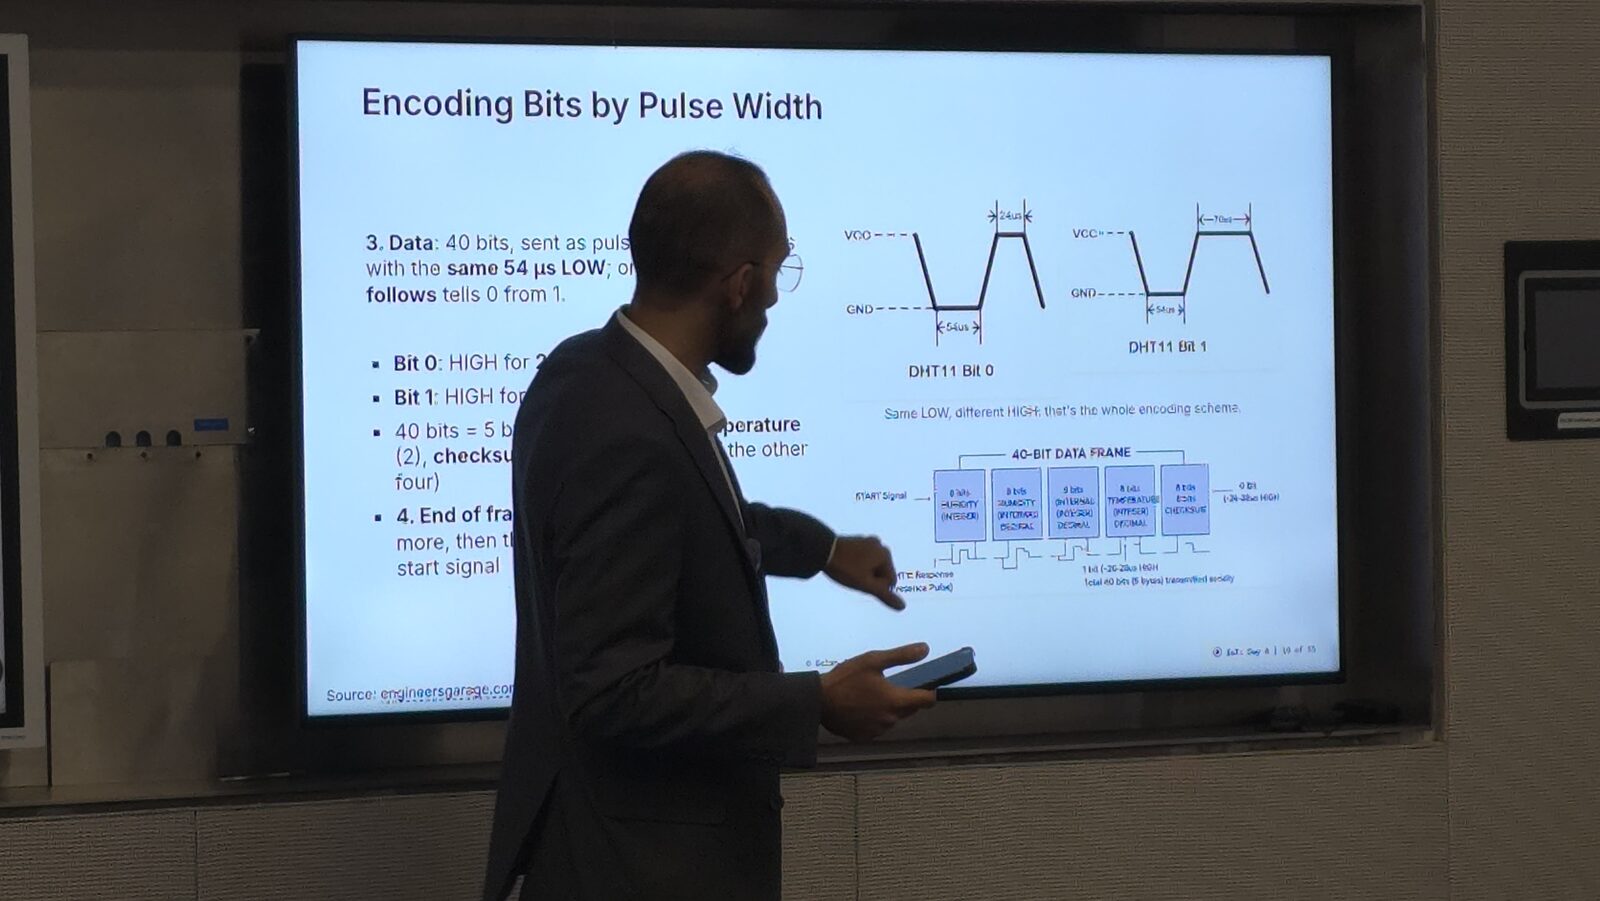
The material was written to be taught, not read. Each deck moves in short steps between a concept, a diagram, and a live demonstration on the board, so students see the idea and its physical consequence within the same few minutes. When the topic was low-level, the slides went low-level with it: the sessions on sensor protocols walk through the one-wire handshake and the pulse-width encoding of individual bits, so students understand what their sensor library is doing rather than treating it as a black box.
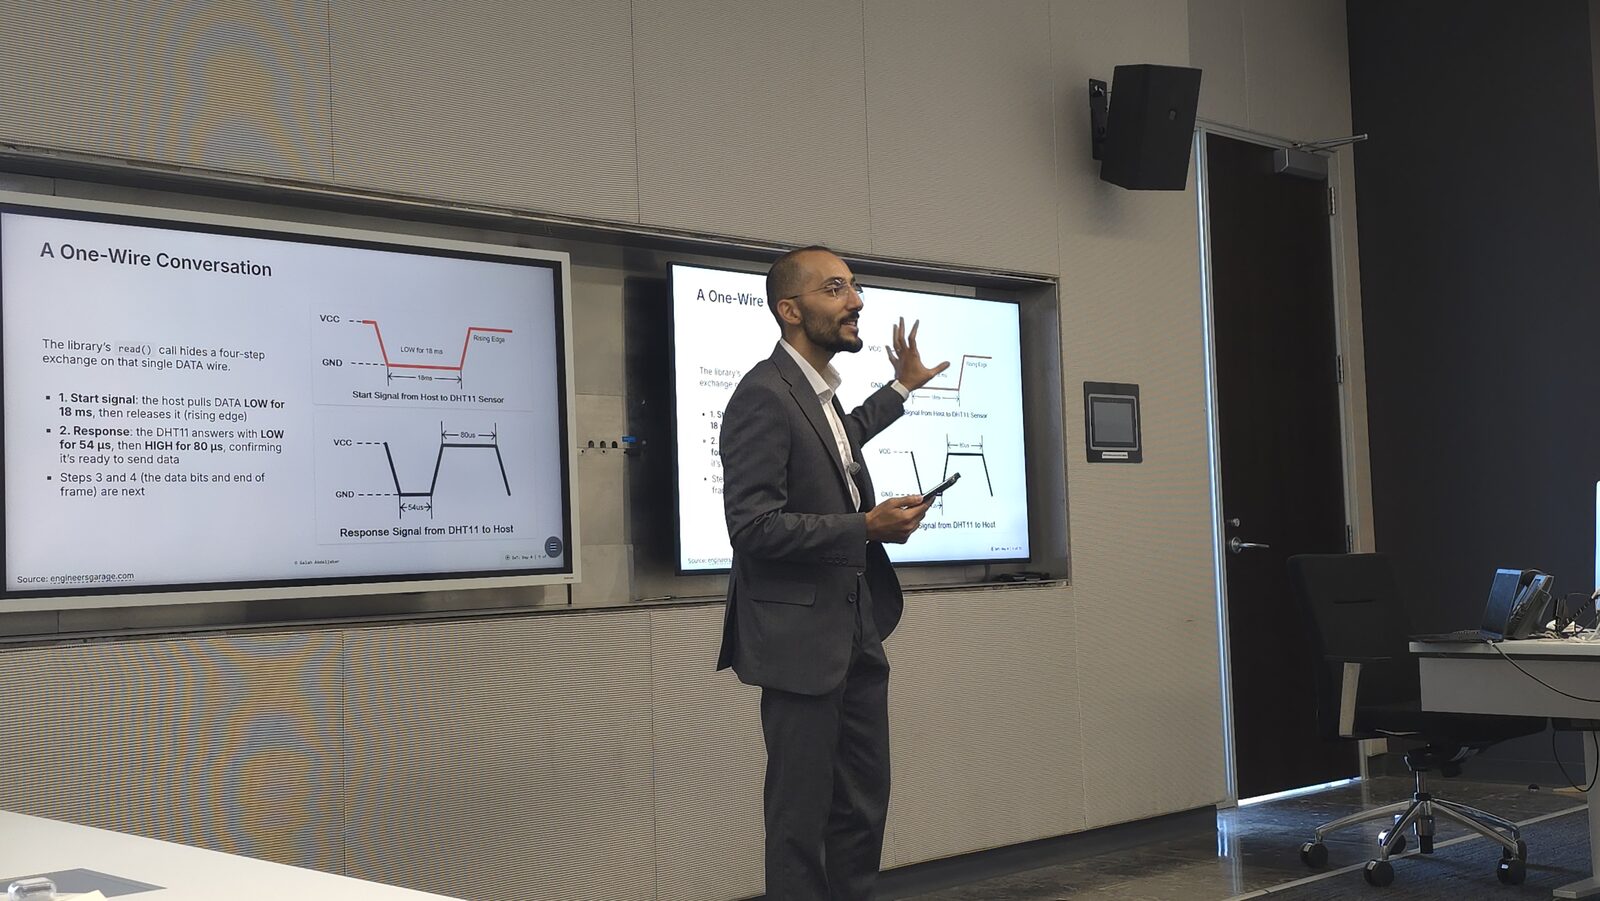
Walking through the one-wire handshake between a host and a DHT11 sensor
A Project Set Built for the Course
Slides alone do not teach embedded systems, so I built a dedicated project hub around the ESP32 Basic Starter Kit. It carries three foundation modules and fourteen projects, each with its own wiring, a ready-to-flash sketch, an explanation of what the code does, and a short quiz so students can check their understanding before moving on.
Foundation modules
- F1. Electronics and communication basics: voltage, current, polarity, DC power and grounds, 3.3 V logic, and the UART, I2C, and SPI buses
- F2. Introduction, board tour and setup: the ESP32 pinout, which GPIOs are safe to use, and why
- F3. Arduino IDE setup: a step-by-step installation guide with screenshots
Projects
| # | Project | What students build |
|---|---|---|
| 01 | Inputs and outputs: button to LED | Read a digital input and drive a digital output |
| 02 | Analog inputs (ADC) | Read a potentiometer as a 0 to 4095 value and watch it change |
| 03 | PWM: analog output | Fade an LED smoothly with the LED PWM controller |
| 04 | PIR motion sensor and buzzer | Detect motion and sound an alarm using non-blocking timers |
| 05 | Switch web server | Host a web page on the ESP32 and toggle two LEDs from a phone |
| 06 | RGB LED color picker | Pick a color in the browser and mix it on an RGB LED with PWM |
| 07 | Relay web server | Switch a relay from a web page, the basis for controlling real appliances |
| 08 | Output state synchronization | Control one LED from both a web toggle and a physical button, kept in sync |
| 09 | DHT11 temperature and humidity server | Serve live sensor readings on an auto-updating web page |
| 10 | OLED display (SSD1306) | Drive a 128x64 I2C display with text and scrolling messages |
| 11 | MQTT: broker to Ubidots | Publish to an MQTT broker, then to a live cloud dashboard with remote control |
| 12 | Telegram bot | Read a sensor and switch a light from a chat app, from anywhere |
| 13 | Build your own IoT device | Team capstone combining sensors, actuators, and cloud connectivity |
| 14 | Wi-Fi and Bluetooth coexistence | Run a Wi-Fi server and a BLE server at once on the same board |
The hub also includes reference material that students keep using after the course: a GPIO pinout table, a components glossary, an advanced topics page covering deep sleep, Wi-Fi resilience, storage, and NTP time, plus a printable cheat sheet and safety notes.
Project 13 is the capstone. Teams specify their own device, choose their sensors and actuators, connect it to the cloud, and present it. I wrote a starter sketch and a grading rubric for it so the teams had a clear target and a fair, transparent evaluation.
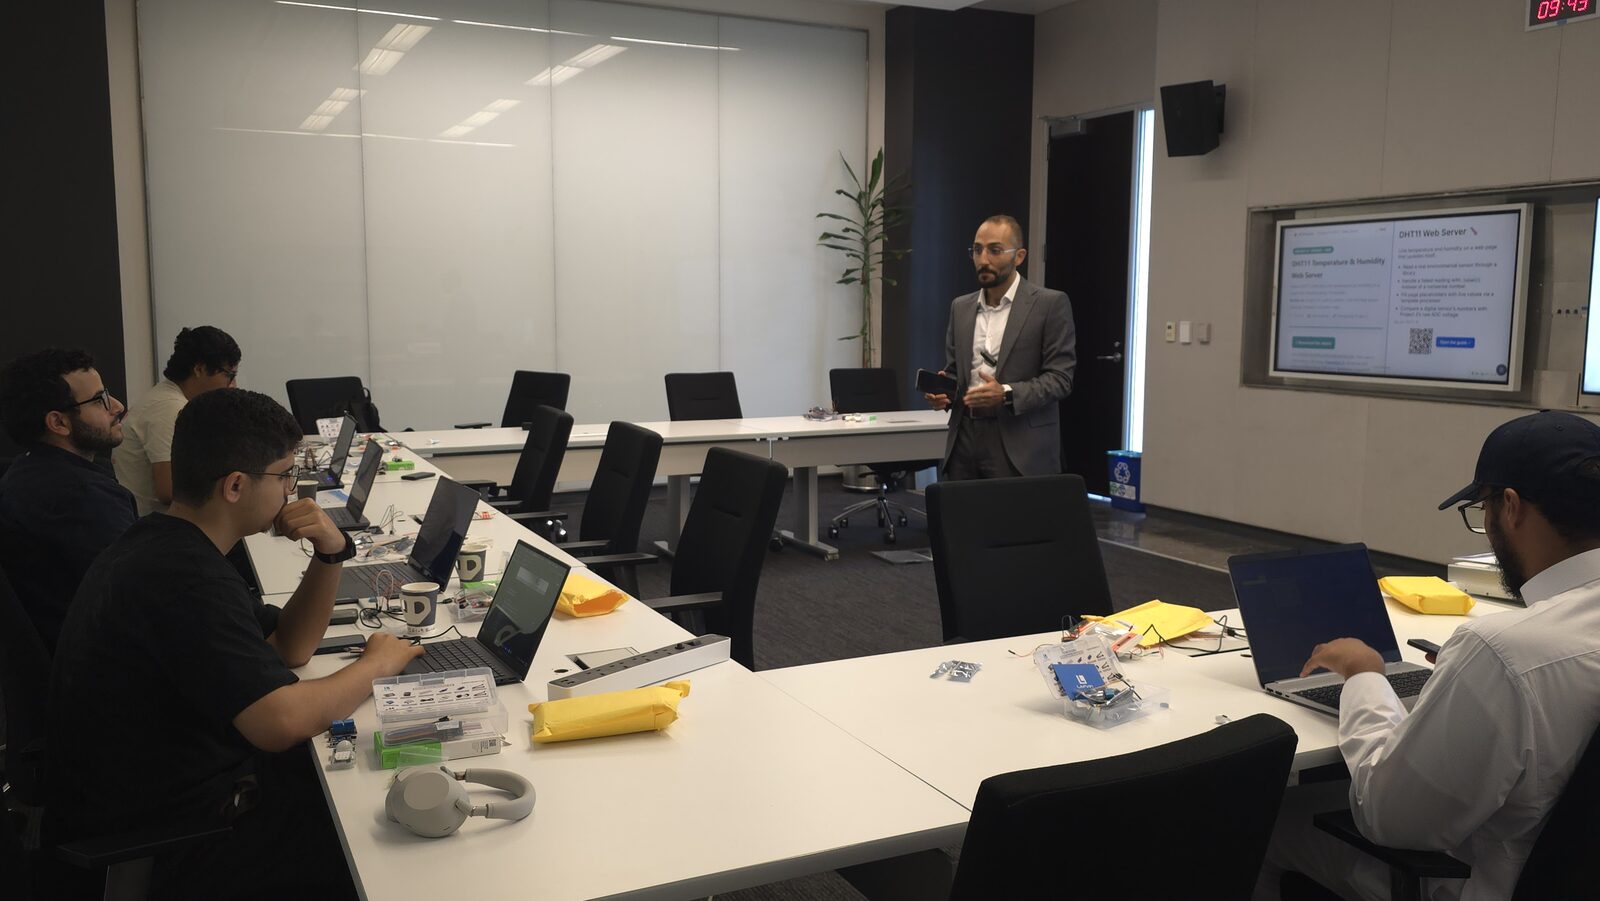
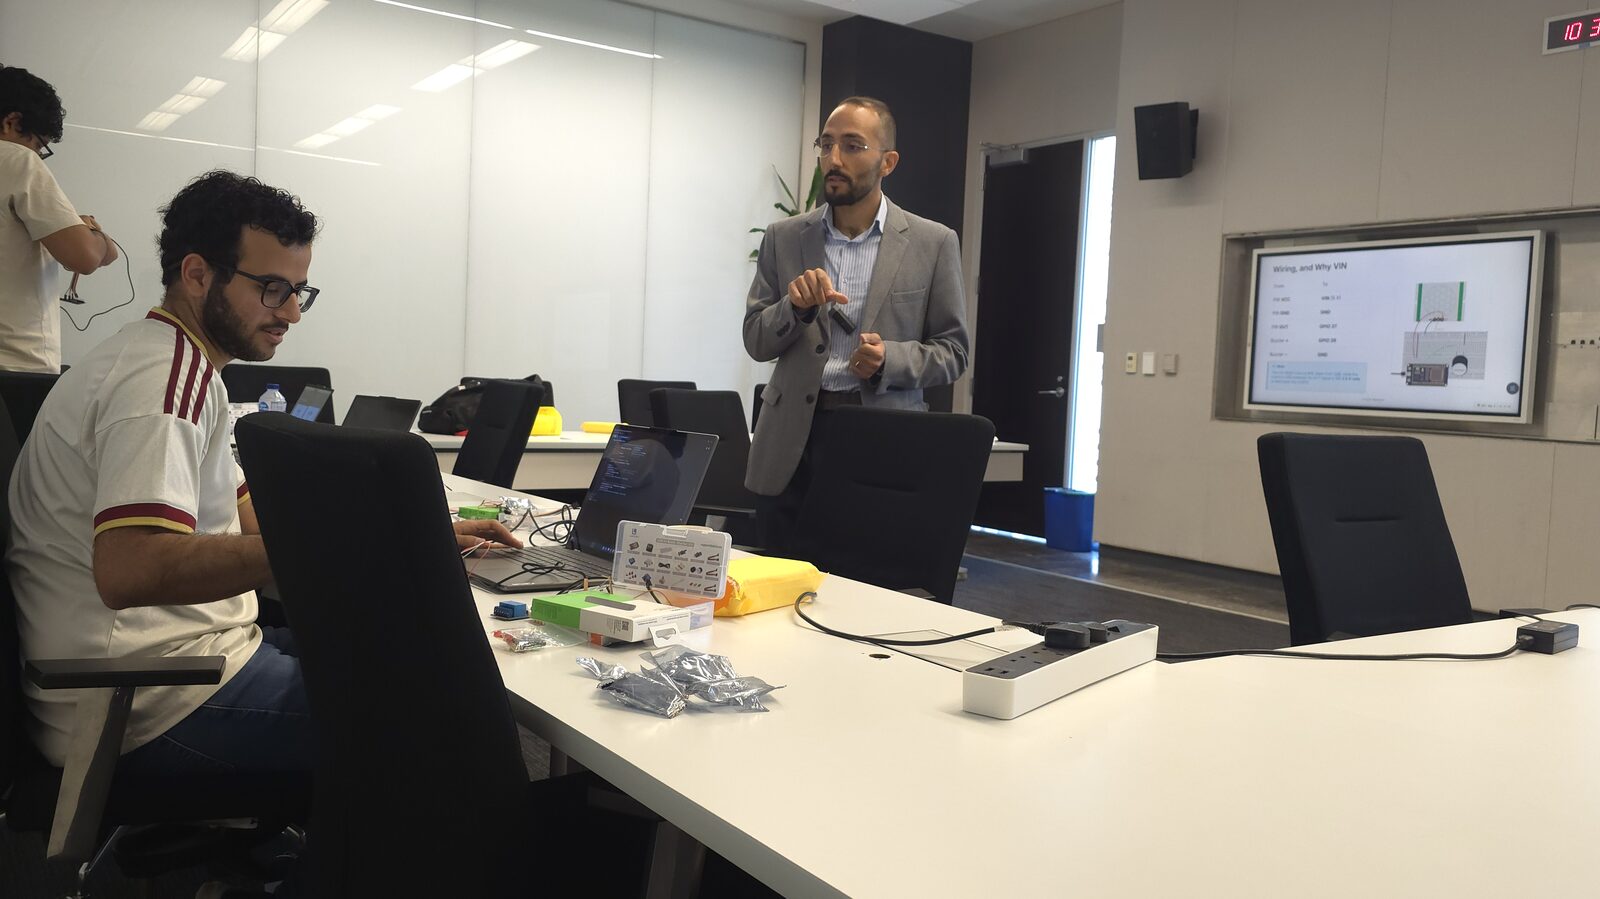
Every session was run with the kits open and the boards powered, so a concept could be tested the moment it was introduced
Running the Sessions
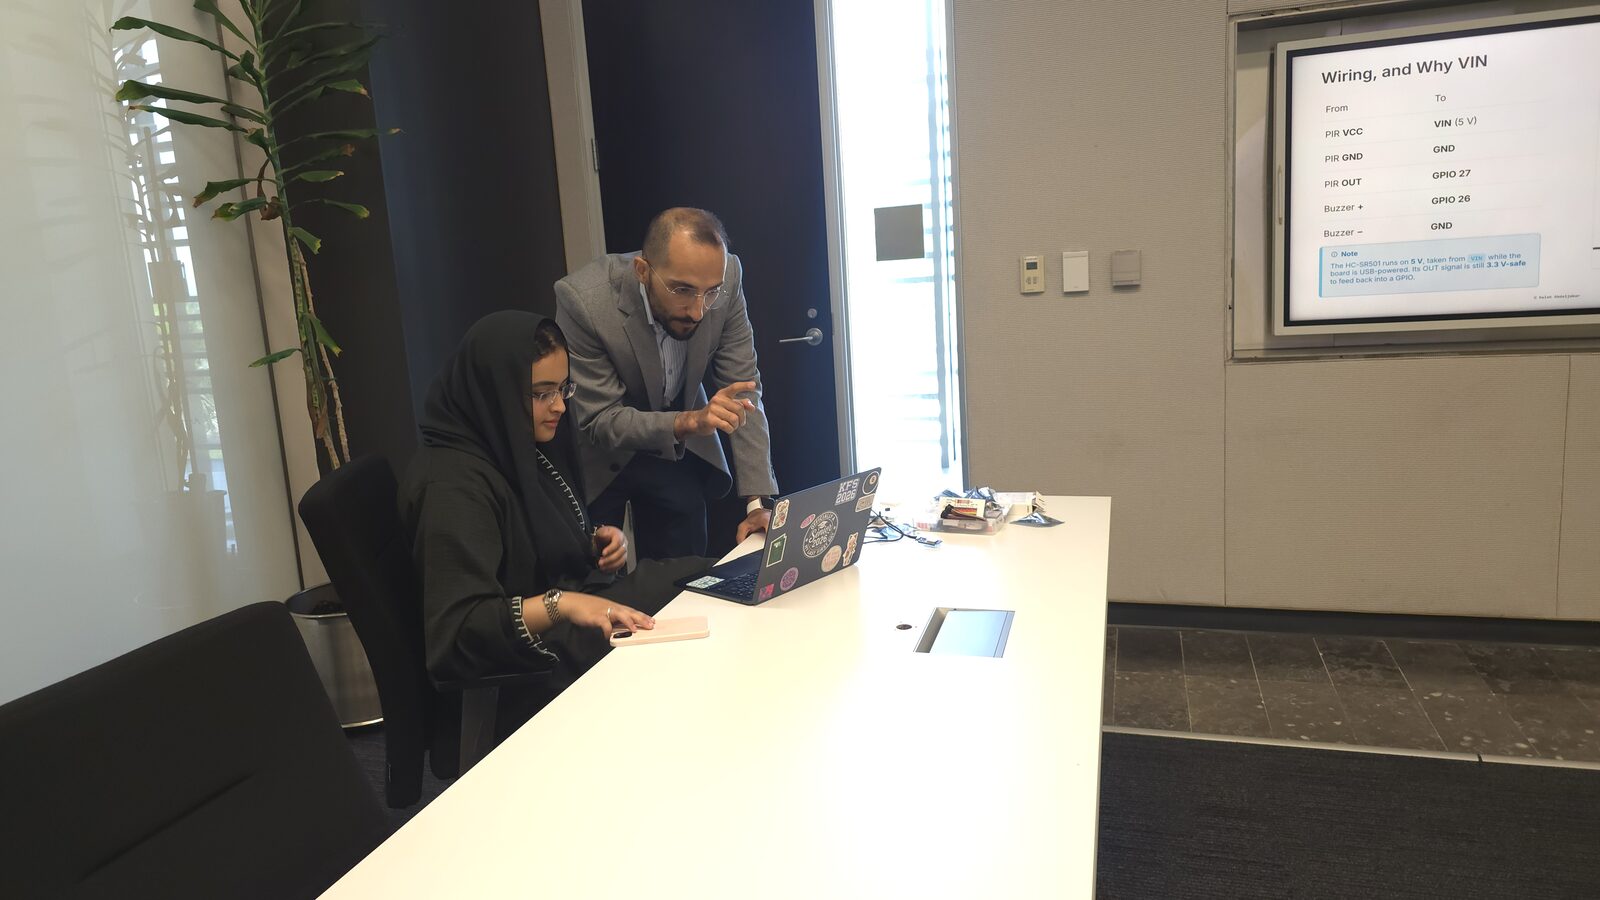
I ran the week as a workshop rather than a lecture series. Concepts were introduced in short blocks and immediately handed over to the students to build, with the room switching between presentation and lab several times a day. I moved between benches during every build, reading wiring, checking serial output, and working through failures with students at their own boards. Debugging in front of the class was deliberate: a miswired sensor or a silent serial monitor is the most useful teaching moment an embedded course has, and students leave able to diagnose their own hardware.
I also led and coordinated two teaching assistants across the week. I briefed them on each day’s material and checkpoints before the session, divided lab coverage so that no student waited long for help, and kept the support consistent with how the material was taught, so that a student getting help at one bench received the same explanation as a student at the next.
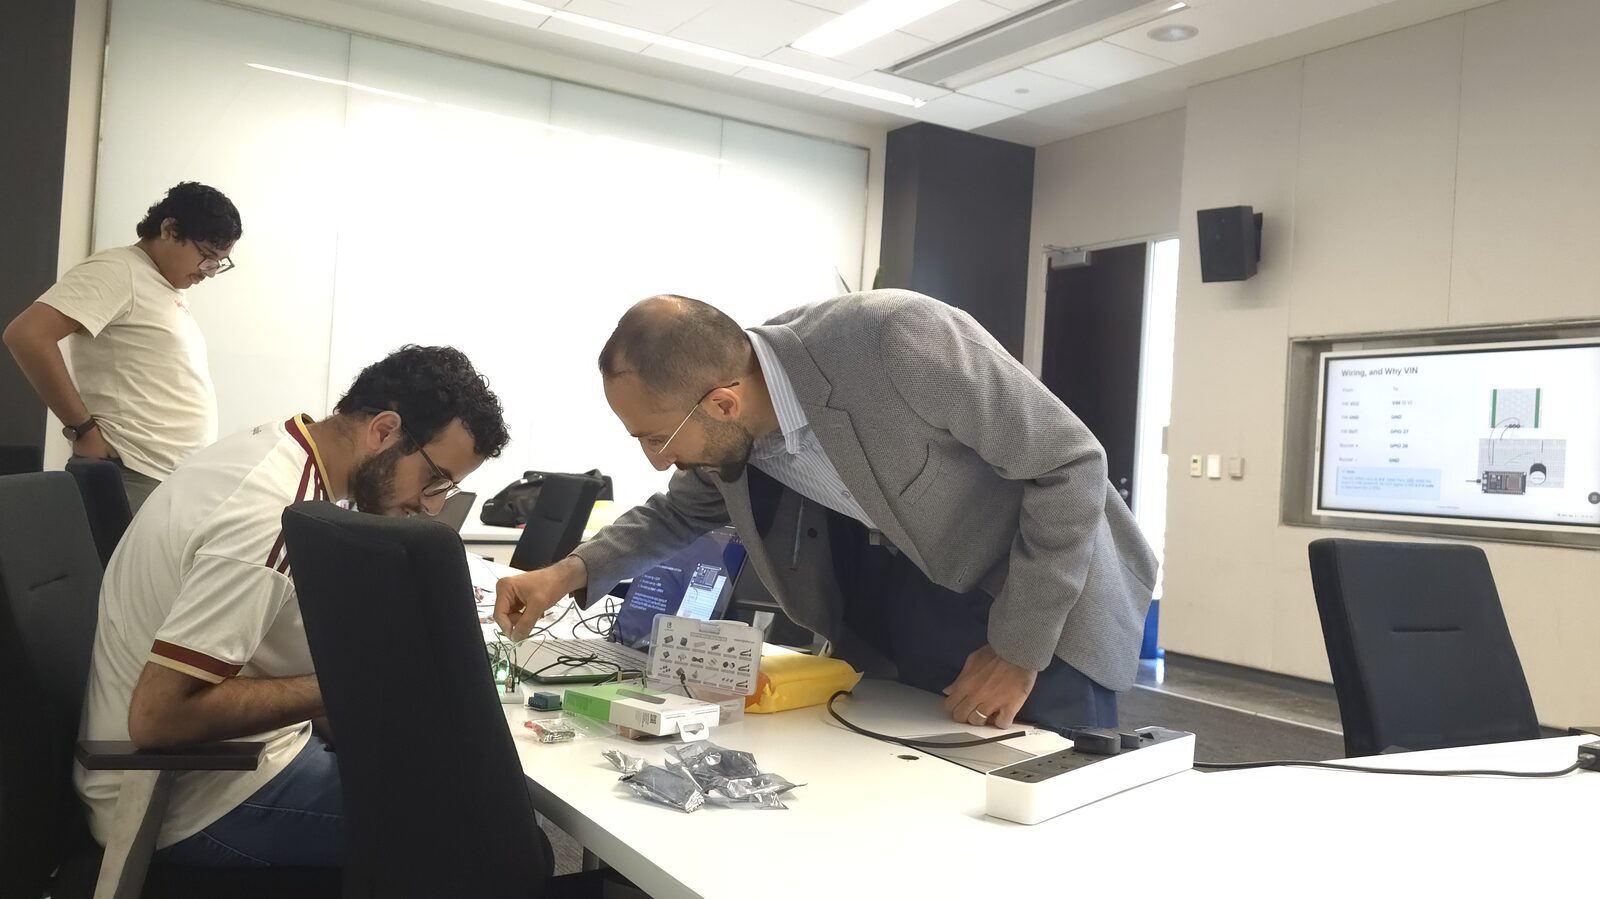
Debugging a wiring problem at the bench, one of the most valuable teaching moments of the course
Outcomes
By the end of the five days, students could wire and program an ESP32 from a blank sketch, read analog and digital sensors, drive actuators, serve a control interface from the device itself, publish telemetry to a cloud dashboard over MQTT, accept commands back from it, and combine all of the above into a device of their own design. Every slide deck and every project guide remains publicly available, so the students continue to use the material after the program.
Resources
Photo Gallery